6 Easy Tips for Your DIY Wedding Invitations
It’s such an exciting time—you're engaged! That means lots of love, big plans, and probably a few spreadsheets. As a custom wedding invitation designer, I get to hear all kinds of love stories. Each one is special, and so is each wedding.
Not everyone hires a professional stationery designer (though I’d love to work with you!). Some couples want to DIY their wedding invitations to save money or add a personal touch. If that’s you—amazing! I’m cheering you on. Just know that if you ever need help, I’m here for you.
Here are my best tips to help you design, print, and mail your own wedding invitations like a pro.
Tip 1: Order More Than You Think You Need
Always order about 10–15% extra materials. You’ll want spares in case of mess-ups, address changes, or lost mail.
Extra sets are also helpful for:
Last-minute guest list changes
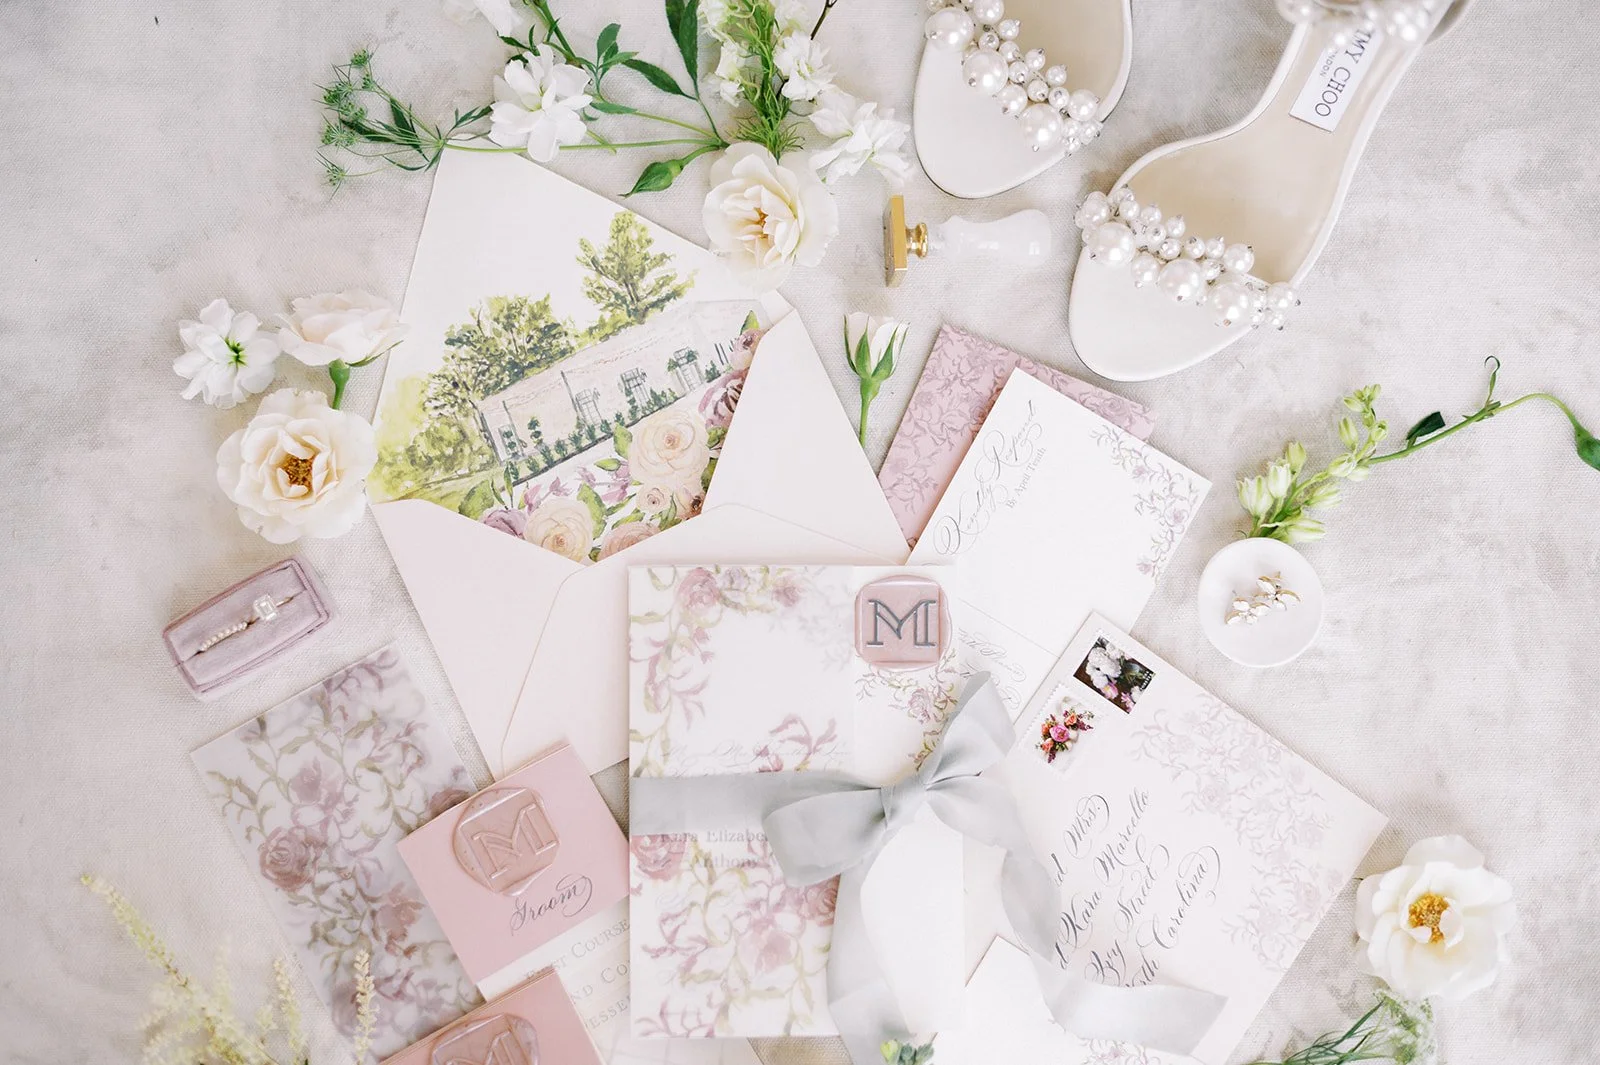
Your photographer (for styled detail shots)
Your own keepsake box!
Tip 2: Start Early
Give yourself at least 3–4 months before your mail date to plan and create. Start by sketching ideas and gathering inspiration. Add buffer time for:
Proofreading
Printing delays (Printing alone can take up to 4 weeks depending on your process and shipping times)
Shipping supplies
Working ahead means less stress—and more time to enjoy the process.
Tip 3: Sketch Before You Design
Start with a rough sketch of your layout. Don’t worry if it’s messy! A quick sketch helps you decide where everything goes—names, florals, RSVP details, etc.
Next, make a mood board with:
A few color palette ideas
Fonts you like
Photos or invitation examples you love
This will keep you from getting overwhelmed by too many choices later.

Tip 4: Plan Your Materials & Printing Together
Once you know your guest count, order your paper and supplies early—at least 2–3 weeks before printing. That gives you time to fix any mistakes, like receiving the wrong color or size.
Helpful tips:
Order paper in bulk to save money
Try heavier-weight paper for a luxe feel (Crane’s, Neenah and Mohawk are some of my favs)
Test your printer with your chosen paper before printing the full set. This may also require ordering sample paper before placing your bulk order.
If you’re using a local printer, call ahead! Ask about:
File types they accept
Turnaround time
Pricing
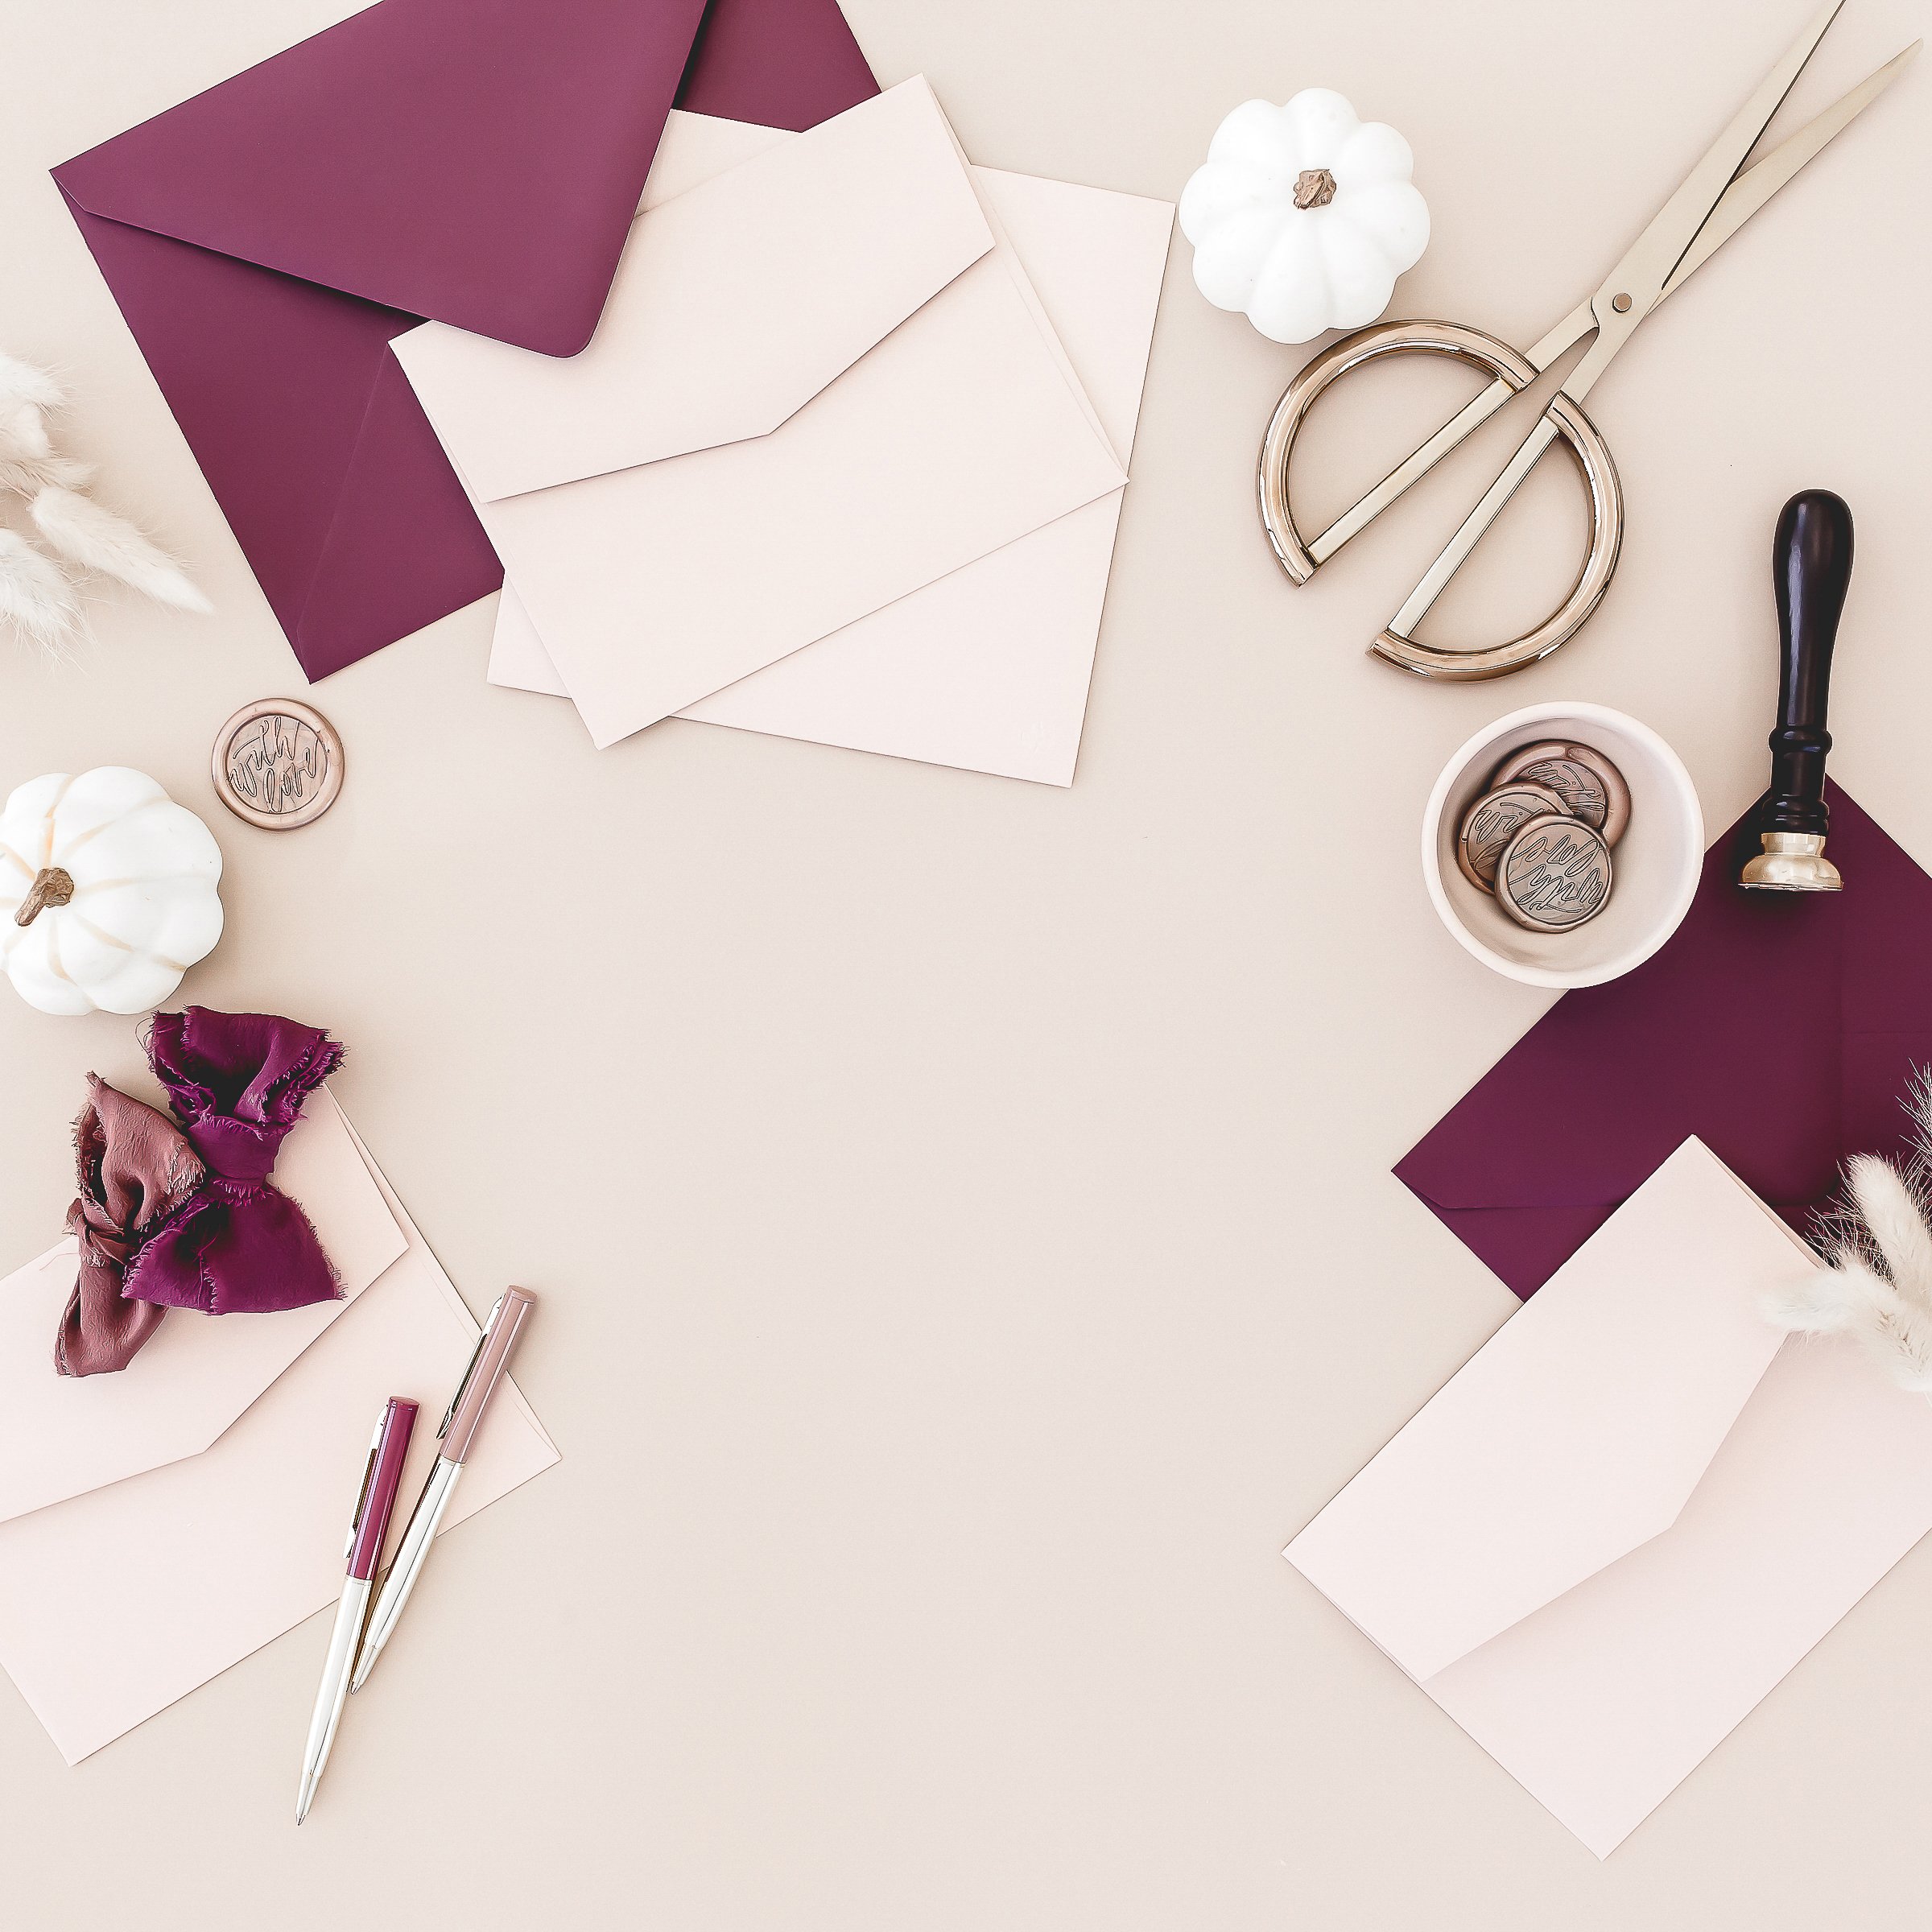
Also, order ribbons, wax seals, or stamps early so you're not scrambling at the last minute.
Tip 5: Go to the Post Office, please!
Before you buy stamps, make a complete mock-up of your suite. Bring it to the post office and ask them to:
Weigh it
Check if it fits through their letter slot
They’ll let you know exactly how much postage you need. If it’s too thick or heavy, it may require extra postage. Depending on the number of pieces and things like wax seals a single postage stamp will not always work.
When it’s time to mail everything, hand-deliver your invitations to the post office and request hand-canceling to avoid damage in the mail.
Tip 6: Don’t Be Afraid to Ask for Help
If things start to feel stressful, ask for help!
Invite your friends over for a stuffing and stamping party
Ask a bridesmaid to help tie bows or apply wax seals
Hire a calligrapher (it’s me, hi!)
And if you just can’t get your invites looking the way you imagined, reach out to a professional stationery designer; you can hand off what you’ve done so far and they can help with the rest.

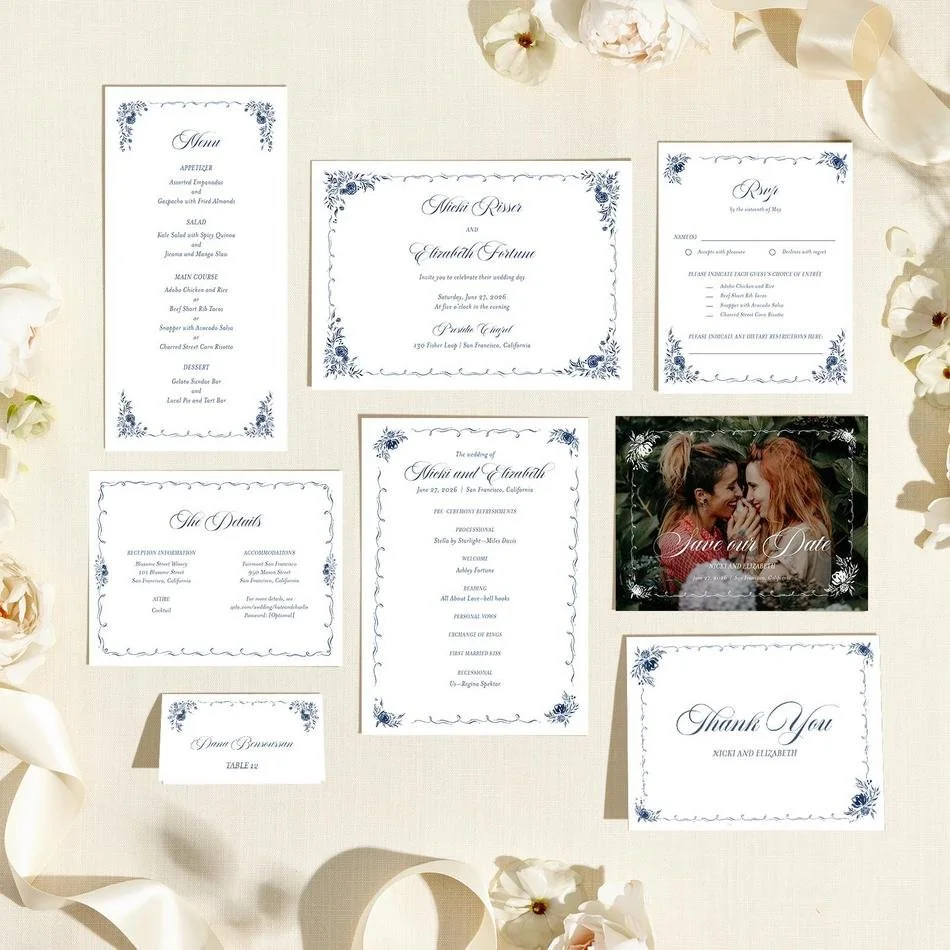
Zola wedding invitation by Blush and Blue Designs: “Pontus” in Dark Forest
Tip 7: Use a semi-custom service to save time and stress
If fully DIY’ing your invitations feels overwhelming, but you still want to add your personal touch, a semi-custom invitation might be the perfect middle ground. These templates allow you to customize your wording and colors while leaving the design and printing to the professionals.
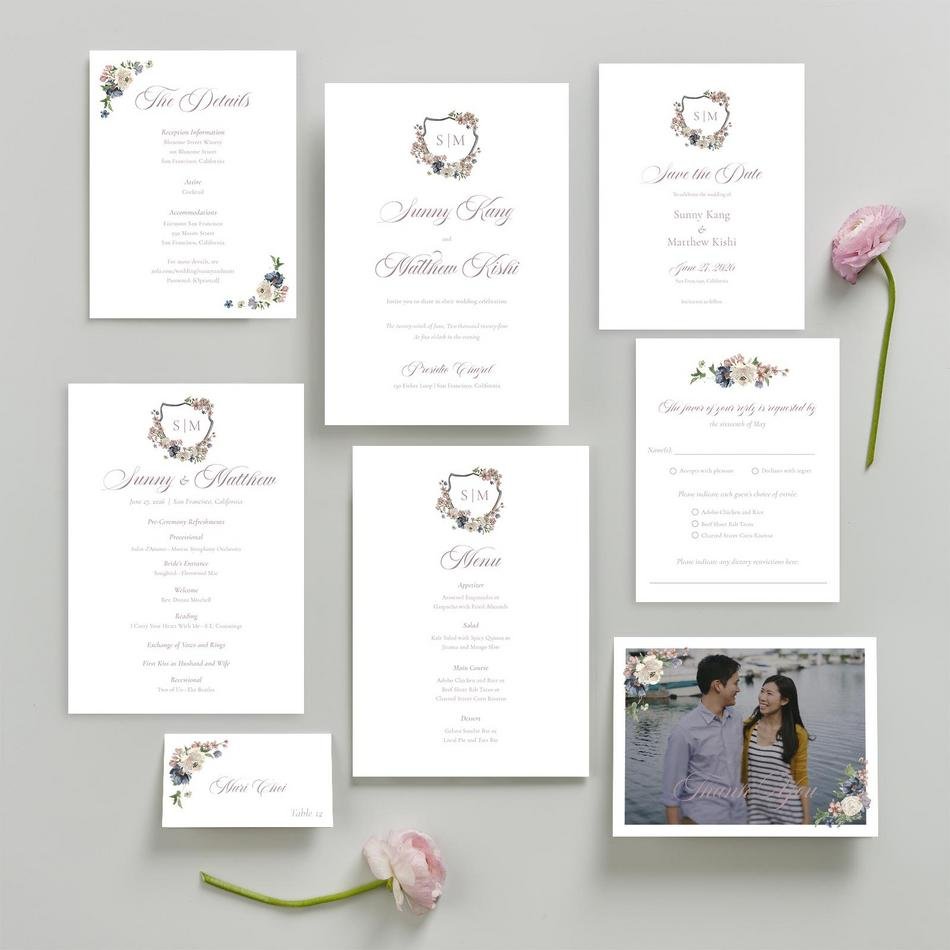
I partner with Zola to offer a collection of semi-custom wedding invitation designs that blend style and convenience. You can browse my Zola invitations below, choose your favorite, and have everything printed and shipped directly to you—no design software or printing guesswork needed.
This is a great option if you want a polished look without the pressure of designing everything from scratch!


Your DIY Wedding Invitation Timeline
Here’s a simple sample timeline to keep you on track:
4 months before | Start sketching, planning design, gather inspiration
3 months before | Finalize layout & wording, order supplies
2.5 months before | Proofread, test print, get feedback
2 months before | Print invitations or send files to printer
1.5 months before | Assemble invitations, address envelopes
6–8 weeks before | weddingHand-deliver to the post office and mail!
You’ve Got This—But I’m Here if You Need Me
DIY-ing your invitations is a labor of love. But if you hit a wall or need a professional to step in, I’d be honored to help. Whether you want a full custom design or just help finishing what you’ve started, I’m only a message away.
Ready to talk custom invites or save the dates? Let’s chat!